Times have certainly changed. Gone are the days when most kids want to be astronauts, firefighters, or any other classic top-tier childhood career when they grow up. These days, kids want to grow up to be live game streamers or video stars. Ask a kid who their heroes are and there’s a good chance you’ll hear about the likes of Markiplier, Jackscepticeye, or MattPat and their content. Content creators have quickly grown not only in popularity but also in viability as well. Top earners like Otzvarda or Ninja pull in millions of dollars per year, all for playing video games and fostering a community online. Indeed, this writer is also a Twitch streamer and Youtube video essayist and has enjoyed more than a little success doing so. As you can see at https://medium.com/destream/why-is-streaming-so-popular-5c0b3f8fa8ac, the age of the streamer is in!
Perhaps you, too, have thought about becoming a content creator. Take it from me, that’s a decision that shouldn’t be taken lightly, nor should it be taken without carefully considering what you need before you even begin. In this article, I’ll share what I’ve learned from doing this for a few years and give you the insight I wish I had when I was a beginner. We’ll go over the hardware you’ll need and a few thoughts that will help carry you through the most difficult phase of being a streamer: the beginning. When you first start out, you’ll have an audience of zero, maybe some family or friends if you’re lucky. Having the right tech won’t draw viewers in, but it might keep randoms in your stream long enough to stick around and get hooked by the main attraction – you. Here’s what I recommend for a beginner!
Connection Is Everything
There’s no way around it: starting out right is expensive. There are a lot of things that you can cut corners on initially, but there are three things you absolutely should not skimp on. The first and most important is your connection to the internet. When I first started streaming, I had the most basic internet my ISP provided, and my output quality suffered. I was hit with constant lag, buffering, and the dreaded frame drops. While video isn’t the most important element of your content on Twitch – we’ll go over what is in the next section – it’s definitely an entertainment turnoff for a viewer if they can’t see what you’re doing in the game for want of more frames.
There are a few things you can do to combat this problem. First, upgrade your internet. This is absolutely non-negotiable. Twitch recommends at least 10mps upload speed, but in my experience, that’s the bare minimum for running your broadcasting program and your game at once. Bare minimums mean more problems. You’re going to want to double that for a smooth video quality, no matter what game you’re playing. So long as your output resolution matches the game resolution and your upload speed is 15-20mps, you’ll see a good quality video output.
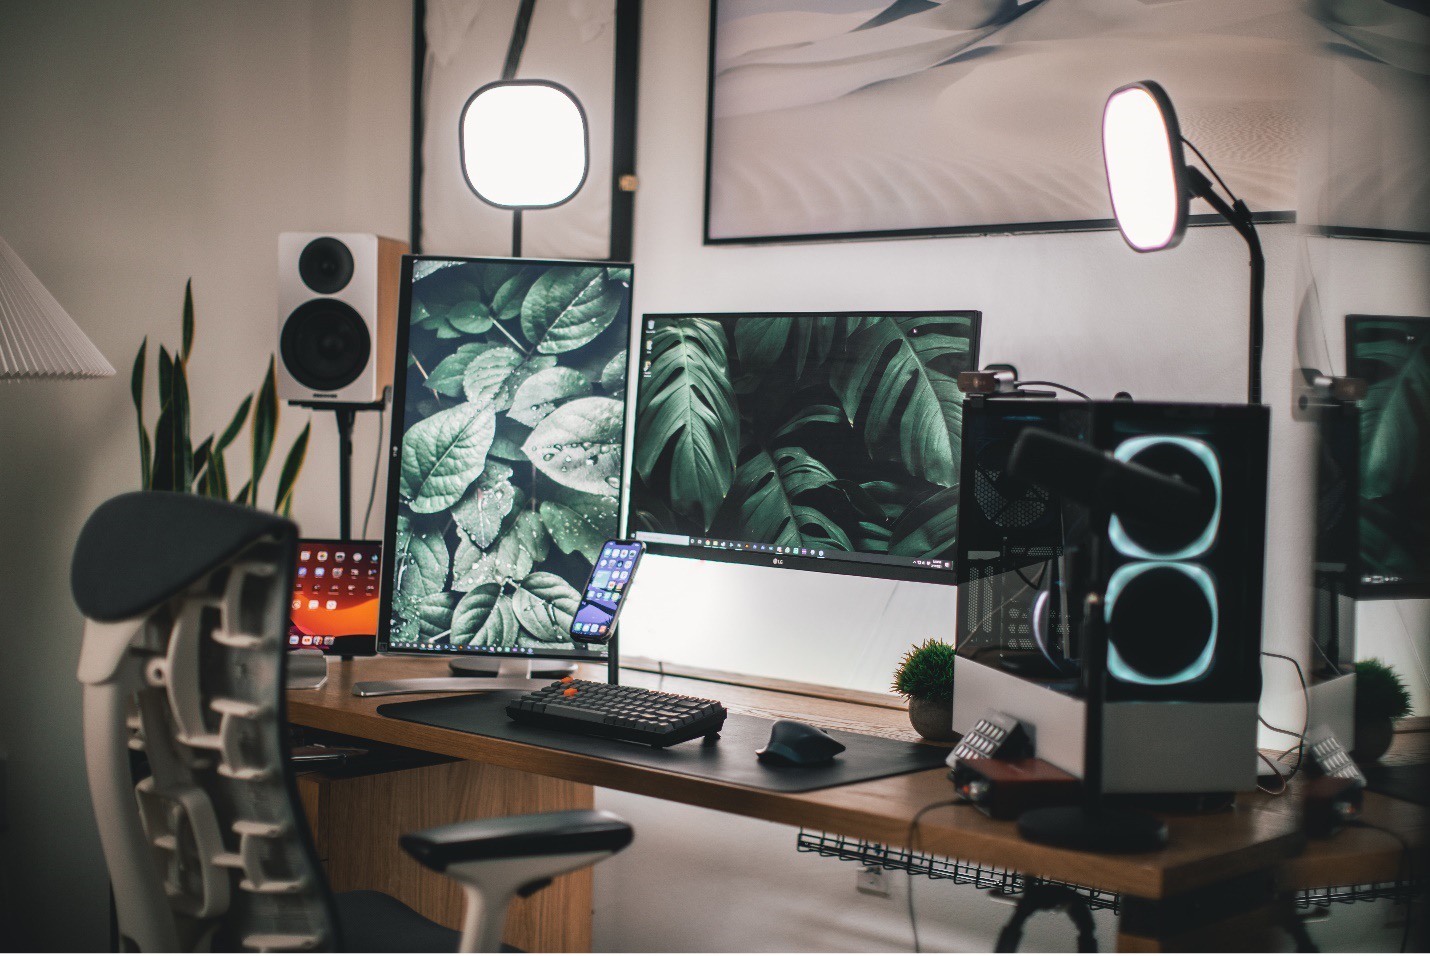
Of course, having good speed means nothing if your computer can’t reliably connect. Broadcasting over WiFi is a rookie mistake. Doing so risks signal interference, lag, and other problems if anyone else is connected to the network. Instead, run an ethernet cable from your router to your computer. Depending on where everything is set up in your home, you may need an ethernet extender. I use the one made by Enable IT, and it’s been a real lifesaver for keeping my connection stable.
Audio Matters

Viewers will forgive a lot of technical problems. They’ll usually be okay with lower-quality video (provided the video is smooth and doesn’t lag or lose frames) or a lower quality webcam. One thing that they absolutely will not tolerate is poor audio. That’s the second thing that you absolutely can not cut corners on. I’ve personally spent twice as much time setting up and tweaking my audio settings as I’ve spent on everything else combined. Good quality sound is non-negotiable; you need to not only have the right equipment but know how to use your broadcasting software’s built-in filters and settings to get the most out of it.
A lower audio quality will make users perceive lower video quality, as you can see here. For starters, ditch the built in mic that comes with most gaming headsets. It doesn’t matter how good the mic is for online gaming with your friends, it’s not going to cut it for streaming. Invest in a good quality dedicated mic. Next, get to know your mic settings, particularly the noise gate and compressor filters. Those are where your bread and butter are going to be for making your audio quality pop. They’ll help mix your voice properly against the game audio, helping you sound loud and clear no matter what’s happening on screen.
Optional Tech
You may think you need a webcam, but you’re actually in the clear if you don’t have one. While they can enhance your stream, they’re also technically completely optional. You can start your streaming career without one and pick one up later if you feel like it! Many top content creators use either images or if they’re really spicy, animated avatars to represent themselves. Don’t stress out too much about a webcam unless you absolutely can’t imagine doing this without one. If you do go with one, make sure that it has a decent enough quality for you to show up clearly!
While your broadcasting software can capture your computer games, if you’re planning on using a console you’ll need to make a choice. Most modern consoles have built-in streaming capabilities, but these are extremely limited compared to good broadcasting software. You’ll need a dedicated capture card if you want to get the most out of them, or if you want to stream older consoles at all. Good luck, and have fun!